Watch Your Little One Grow: DIY Growth Chart Tutorial
Materials You’ll Need
Wooden board (mine was 6.5 feet x 3.5 inches from Home Depot)
Paint (I used leftover wall paint, but acrylic or sample paints work too)
Paintbrushes
Tape measure and pencil
Cricut Chipboard (for the numbers)
Cricut Maker Machine (or other cutting tool for designs)
Mounting tape or hanging
Affiliate disclosure: Some links in this post are affiliate links. I may earn a small commission if you purchase through them, at no extra cost to. you. I only link products I personally use or love.
Step-by-Step Guide
1. Prep Your Wood
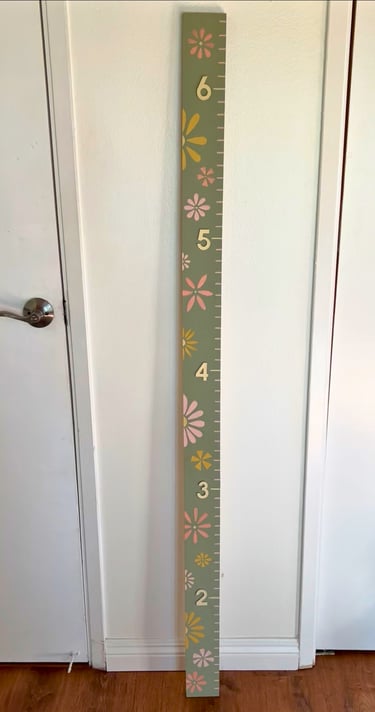
Start with a smooth wooden board. Mine was 6.5 feet long and 3.5 inches wide from Home Depot. Sand lightly if needed so paint goes on evenly.
2. Base Coat
Paint the whole board in your base color. I used leftover wall paint in a few shades that matched my daughter's nursery. Acrylic or sample-size paint from Home Depot works too. Let it dry completely.
3. Number the Chart
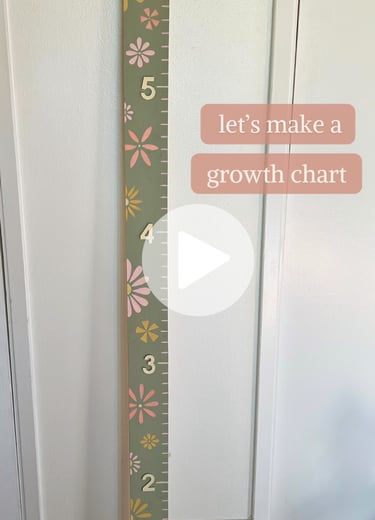
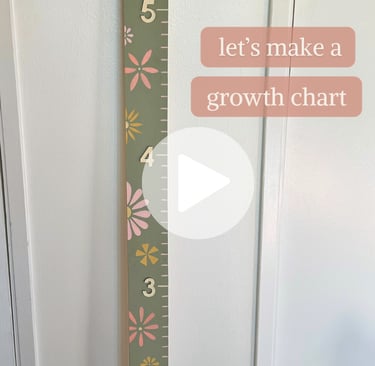
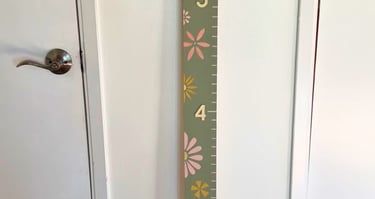
The bottom of your growth chart will be mounted 1 foot off the ground. That means when you number it, the first foot starts at 1 foot, not 0. Then add marks for each inch and a bigger mark for each foot.
4. Add Numbers
Since I wanted the numbers to stand out, I cut them out of heavy chipboard using my Cricut machine. I added numbers at each foot from 2 to 6, leaving room in between for the inch marks. If you don't have a cutting machine, painting it on also looks great!
5. Mark the Inches
Use paint to add little lines in between the numbers to mark each inch. A ruler helps keep everything straight and evenly spaced.
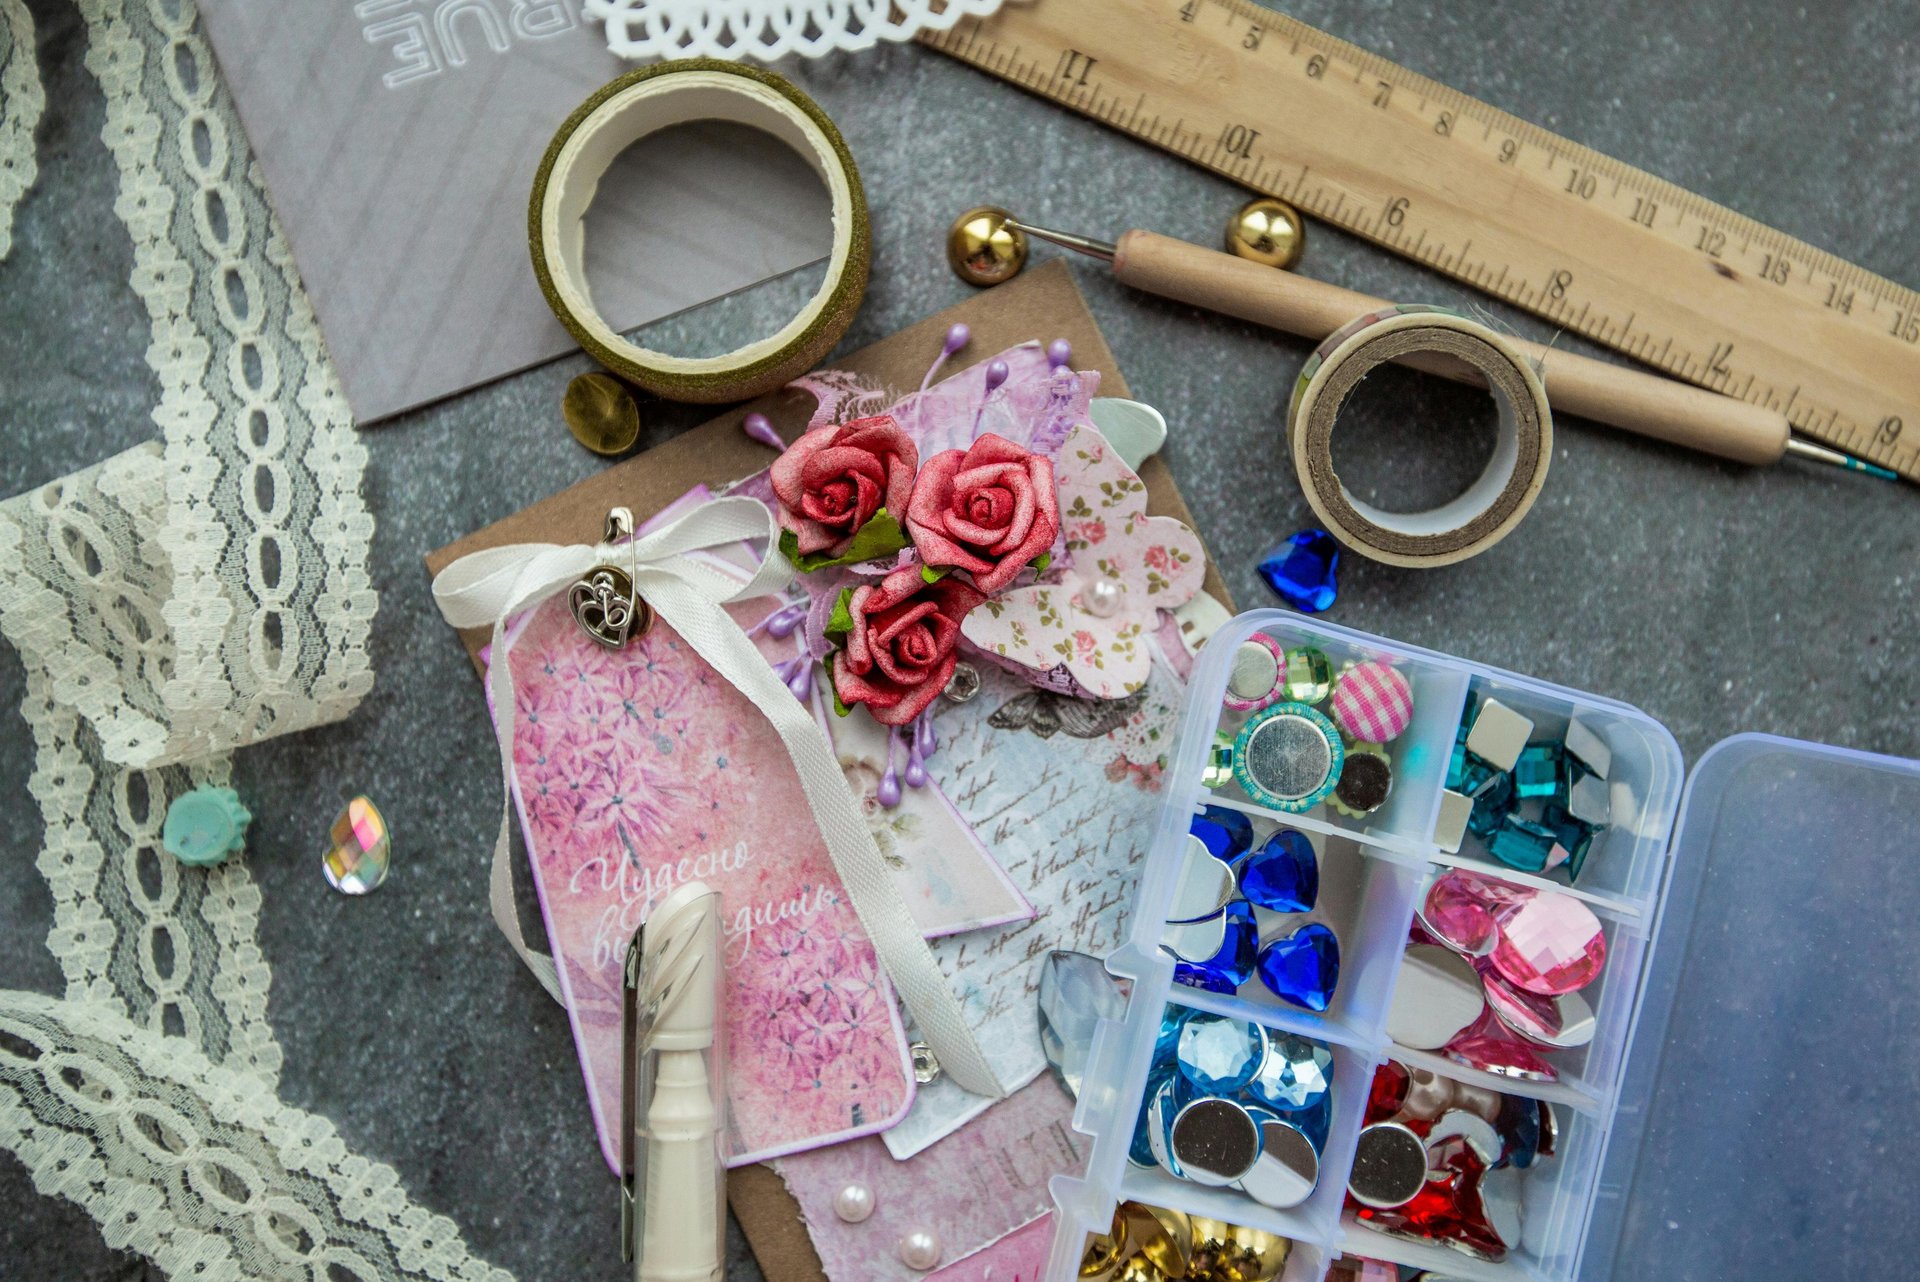
6. Add Decorations
Once the numbers and lines were finished, I added little flower accents to match my daughter's nursery color scheme. You could add any decorative elements your child would love.
7. Seal and Mount
If you want, seal the board with a clear, non-toxic finish to protect it from smudges. Mount the growth chart securely using tape or hardware suitable for your wall.
Tips for Success
Double-check your measurements before painting numbers or lines.
Use a light pencil first if you’re nervous about freehand painting.
Customize decorations to match the nursery or your child’s favorite theme.
Watching your little one grow is such a joy, and a DIY growth chart makes it extra special. I made one for my daughter's nursery, and it felt like a keepsake we’ll treasure for years. The best part is that you can customize it to match your child’s room, favorite colors, or even a theme. I had so much fun making it and it was all under $20!